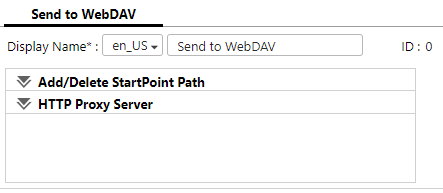
Send to WebDav Settings

General Settings
List same settings as for Send to Print including: (In Flare, create snippets for these items for re-use)
Display Name
URL
Authentication Method
Access to Subfolder
Create a subfolder
File Naming Rules
File (Folder) Name Encoding
Assign Metadata Elements
Add, Edit, Delete
You can add a new metadata assignment setting, edit an existing metadata assignment setting, or delete a metadata assignment setting.
-
Add: Creates a new property bind setting. The Add Assigned Metadata Elements screen appears.
-
Edit: Changes the setting of the selected property bind setting. The Add Assigned Metadata Elements screen appears.
-
Delete: Deletes all property bind settings.
Metadata elements assignment list
Displays the list of assigned metadata.
Select the check box of the assignment setting to be edited or deleted. Select the check box on the title column to select all assignment settings.
Add Assigned Metadata Elements - General Settings
-
Source: Select the metadata element from the drop-down list, or enter the metadata element manually.
-
Target: Enter the name of the corresponding WebDAV property.
-
Namespace: Enter the name space of the WebDAV property.
HTTP Proxy Server
IP Address
Enter the IP address or hostname of the proxy server.
Click [Test] to check the connection to the proxy server that has been entered. Does not perform authentication tests using the entered user name and password.
Port Number
Enter the port number to be used. The default port number is 8080.
Account
Enter the login account to be used for logging in to the proxy server. The number of characters and character types that can be entered for [User Name] and [Password] vary depending on the specifications of the delivery destination server.
Password
Enter the account password. The number of characters and character types that can be entered for [User Name] and [Password] vary depending on the specifications of the delivery destination server.
Exclusion Setting
Enter the IP address and domain name to be accessed without using the proxy server. Use a semicolon (;) to separate each address.
You can use an asterisk (*) to specify the IP address and domain name classes.
Example:
-
*.abccorp.com (an address such as www.abccorp.com or ftp.abccorp.com)
-
192.168.*.*
*.abcsample.* (an address such as ftp.abcsample.net or www.abcsample.biz)
